1. 도전과제 27
2. 풀이
3. 결과

1. 도전과제 27
지도 위에 친구들의 위치를 표시해 보세요. 위치 좌표는 가상으로 정하고 친구들이 있는 위치에 친구의 사진이나 아이콘을 보여주도록 합시다.
- 친구들의 위치를 경위도 좌표로 두 군데 설정합니다.
- 친구들의 위치는 가상 위치로 지정하여 소스 코드에 넣어둡니다.
- 지도의 특정 영역을 보여준 후 그 위에 친구들의 위치를 실제 친구의 사진으로 표시합니다.
- 사진을 누르면 친구 정보를 토스트 메시지로 간단하게 보여줍니다.
참고할점
지도 위에 아이콘이나 사진을 표시하려면 마커를 만들어 지도에 추가해야 합니다.
2. 풀이
앱 화면 안에 지도를 넣는 방법으로 MapFragment를 사용한다. 맵 프래그먼트는 구글맵 서비스 기능을 사용할 수 있도록 추가된 기능으로, Google Play Service 모듈을 사용해야 한다. XML 레이아웃에 맵 프레그먼트를 추가해 지도를 사용하는 법은 다음과 같다.
1. Google Play Services 라이브러리 사용 설정하기
SDK Manager -> Appearance&Behavior -> SystemSettings -> Android SDK -> SDK Tools -> 'Google Play services' 모듈 확인
2. 프로젝트를 만들고 XML 레이아웃에 맵프래그먼트 추가하기
File -> Project Structure -> Dependencies -> Modules 밑 app 선택 -> Declared Dependencies 에서 +로 Library dependecy 선택 -> play-services-maps를 검색해본 후 표시되면 OK
그렇다면 이제 아래와 같이 사용할 수 있다.
<fragment
android:id="@+id/map"
class="com.google.android.gms.maps.SupportMapFragment"
android:layout_width="match_parent"
android:layout_height="match_parent"
android:layout_margin="10dp"
android:layout_weight="3"></fragment>html
이제 메인 액티비티에서 위 맵프래그먼트를 바탕으로 초기 값을 설정할 수 있다. 지금은 초기 위치를 따로 정하지 않았으나, LocationListener 등을 사용하면 현재 위치를 받아와 설정할 수 있다. 그리고 이때 newLatLngZoom()에 숫자 인자값으로 축적을 정할 수 도 있다. 또한 맵에 친구의 위치를 Marker로 표시할 수 있는데, 이때 Marker 클릭시에 동작을 설정할 수 있다.
  protected void onCreate(Bundle savedInstanceState) {
        super.onCreate(savedInstanceState);
        setContentView(R.layout.activity_main);
        AutoPermissions.Companion.loadAllPermissions(this, 101);

        mapFragment = (SupportMapFragment) getSupportFragmentManager().findFragmentById(R.id.map);
        mapFragment.getMapAsync(new OnMapReadyCallback() {
            @SuppressLint("MissingPermission")
            @Override
            public void onMapReady(GoogleMap googleMap) {
                Log.d("Map", "지도 준비됨");
                map = googleMap;
                //초기 위치 설정. LocationListener를 사용하면 현재 위치로도 설정 가능
                map.animateCamera(CameraUpdateFactory.newLatLngZoom(new LatLng(37.5696934357,126.90220851),16));
                addMarkers();
                //마커 클릭시 동작 설정
                map.setOnMarkerClickListener(new GoogleMap.OnMarkerClickListener() {
                    @Override
                    public boolean onMarkerClick(Marker marker) {
                        Toast.makeText(getApplicationContext(), marker.getTitle() + ": " +marker.getSnippet(), Toast.LENGTH_SHORT).show();
                        return true;
                    }
                });
            }
        });
    }java
Marker는 구글 지도에서 특정 포인트를 좌표 기반으로 저장해 두는 것이다. 타이틀이나 설명, 사진 등을 정하여 addMarker(Marker)로 저장할 수 있다.
public void addMarkers(){
        LatLng friendpos = new LatLng(37.5696934357,126.90220851);
        friend1 = new MarkerOptions();
        friend1.position(friendpos);
        friend1.title("대머리왕");
        friend1.snippet("머리카락이 하나도 없음");

        pic1 = getResources().getDrawable(R.drawable.birdmissile1);
        Bitmap bitmap = BitmapFactory.decodeResource(getResources(),R.drawable.birdmissile1);
        bitmap = Bitmap.createScaledBitmap(bitmap,300,250,true);
        friend1.icon(BitmapDescriptorFactory.fromBitmap(bitmap));

        map.addMarker(friend1);

        friendpos = new LatLng(37.5725019461, 126.90442929);
        friend2 = new MarkerOptions();
        friend2.position(friendpos);
        friend2.title("풍성머리왕");
        friend2.snippet("머리카락이 풍성함");
        pic2 = getResources().getDrawable(R.drawable.birdmissile5);
        bitmap = ((BitmapDrawable)pic2).getBitmap();
        bitmap = Bitmap.createScaledBitmap(bitmap,300,250,true);

        friend2.icon(BitmapDescriptorFactory.fromBitmap(bitmap));
        map.addMarker(friend2);
    }java
3. 매니페스트에 권한, 사용정보 등록하기
위 과정을 끝냈으면 당연히 매니페스트에 구글맵 라이브러리 사용정보, 인터넷 사용, GPS 권한을 등록해야 한다.
<manifest xmlns:android="http://schemas.android.com/apk/res/android"
    package="org.techtown.doitmission_27">

    <!--권한 -->
    <permission android:name="org.techtown.doitmission_27.permission.MAPS_RECEIVE" android:protectionLevel="signature"/>
    <uses-permission android:name="org.techtown.samplelocation.permission.MAPS_RECEIVE"/>
    <uses-permission android:name="android.permission.INTERNET"/>
    <uses-permission android:name="com.google.android.providers.gsf.permission.READ_GSERVICES"/>
    <uses-permission android:name="android.permission.ACCESS_FINE_LOCATION"/>
    <uses-permission android:name="android.permission.ACCESS_COARSE_LOCATION"/>

	<!--지도 서비스가 OpenGL 기능을 사용하게 -->
    <uses-feature android:glEsVersion="0x00020000"
        android:required="true"/>


    <application
        android:allowBackup="true"
        android:icon="@mipmap/ic_launcher"
        android:label="@string/app_name"
        android:roundIcon="@mipmap/ic_launcher_round"
        android:supportsRtl="true"
        android:theme="@style/AppTheme"
        android:usesCleartextTraffic="true">

        <uses-library android:name="com.google.android.maps"/>

        <uses-library
            android:name="org.apache.http.legacy"
            android:required="false"/>

		<!--구글 맵 서비스용 키값, 버전-->
        <meta-data
            android:name="com.google.android.maps.v2.API_KEY"
            android:value="APIAPIAPIAPIAPIAPIAPIAPIAIPAPAIAIAPAI"/> <!--api key-->
        <meta-data
            android:name="com.goole.android.gms.version"
            android:value="@integer/google_play_services_version" />

        <activity android:name=".MainActivity">
            <intent-filter>
                <action android:name="android.intent.action.MAIN" />
                <category android:name="android.intent.category.LAUNCHER" />
            </intent-filter>
        </activity>
    </application>

</manifest>java
4. API 키 발급받기
여기서 사용할 API 키는 구글 API 및 서비스 (http://console.developers.google.com)에서 Maps SDK for Android에서 사용 설정 -> 이후 사용자 인증 정보 -> 사용자 인증 정보 만들기 -> API 를 누르면 키가 생성된다. (확인할 때는 사용자 인증 정보에 들어가면 확인 가능하다) 이 키는 각자 발급받아서 사용하면 된다.
3. 결과
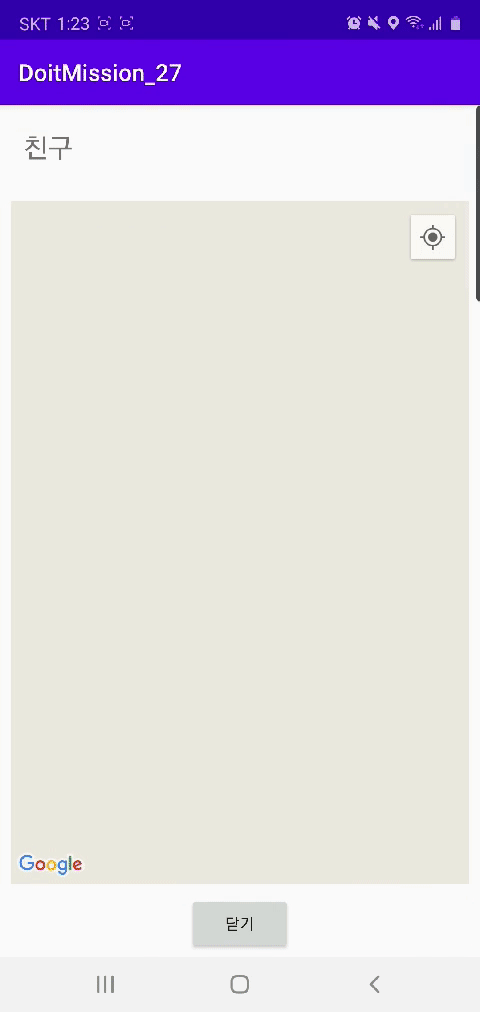
전체 소스코드 : https://github.com/howtolivelikehuman/DoitAndroid/tree/master/DoitMission_27/app/src/main
howtolivelikehuman/DoitAndroid
Do it Android programing (JAVA). Contribute to howtolivelikehuman/DoitAndroid development by creating an account on GitHub.
github.com
'코딩 > Do it Android [JAVA]' 카테고리의 다른 글
| 도전과제 26 : 증강 현실로 쿠폰 보여주기 (Do it Android 앱 프로그래밍) [JAVA] (0) | 2020.09.01 |
|---|---|
| 도전과제 25 : 앨범 사진을 리스트로 보여주기 (Do it Android 앱 프로그래밍) [JAVA] (0) | 2020.08.31 |
| 도전과제 24 : 빨간 사각형을 터치하여 움직이기 (Do it Android 앱 프로그래밍) [JAVA] (0) | 2020.08.31 |
| 도전과제 23 : 페인트보드 앱의 설정 기능 만들기 (Do it Android 앱 프로그래밍) [JAVA] (0) | 2020.08.31 |
| 도전과제 21,22 : 책 정보 저장과 조회 기능 만들기 (Do it Android 앱 프로그래밍) [JAVA] (0) | 2020.08.31 |
Comment